Share this
by Neoteryx Microsampling on Oct 17, 2017 6:00:00 AM
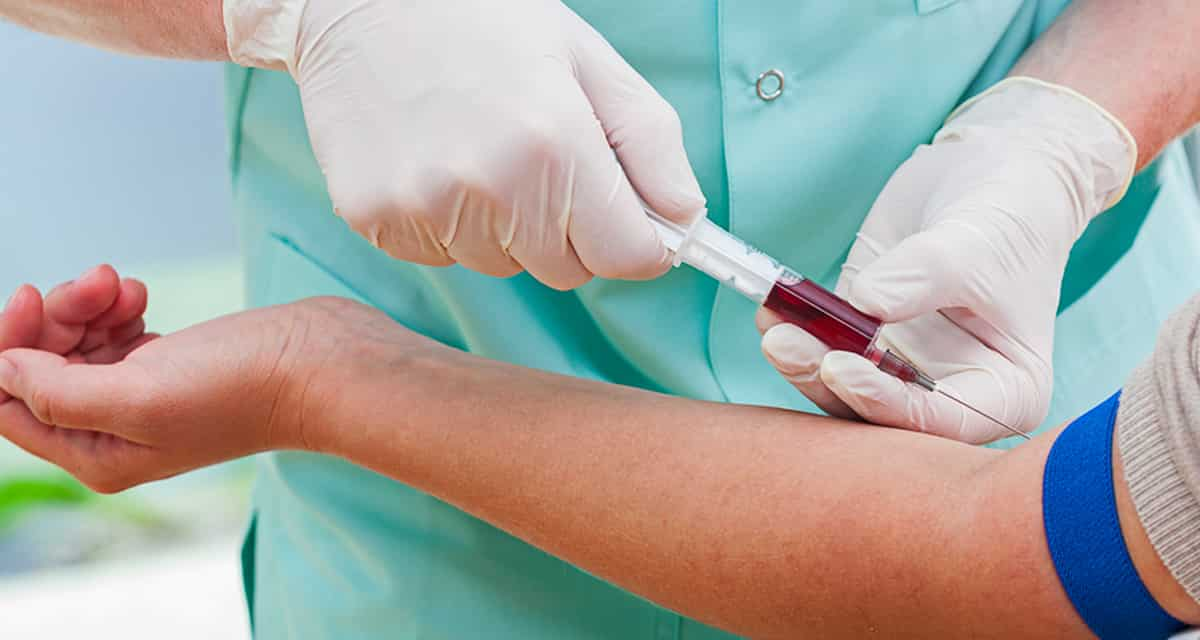
In the past, at-home blood collection was mostly limited to finger-stick sampling to test blood sugar for glucose monitoring in diabetes. For other blood tests, you typically visited the hospital clinic or laboratory for a blood draw to be performed by a trained phlebotomist.
Conventional phlebotomy blood draws can be difficult and stressful. You are lucky if the tech is able to get the blood on the first stick. Many people have fragile or rolling veins, and the phlebotomy technician may poke their arm multiple times to "find a good vein." The entire blood draw process can be painful and anxiety provoking.
Now there is a simple way to collect blood samples at home for applications beyond glucose monitoring in diabetes. People can undergo remote therapeutic drug monitoring (TDM), for example, from the comfort of home. Their care team can use home-collected blood samples to monitor them remotely.
Draw Blood at Home the Easy Way: Microsampling with a Sample Collection Kit
Today there is remote technology available for at-home blood sample collection using specimen collection devices in sample collection kits. With the remote Mitra® microsampling device, you can follow similar steps used by diabetics for finger-stick sampling at home.
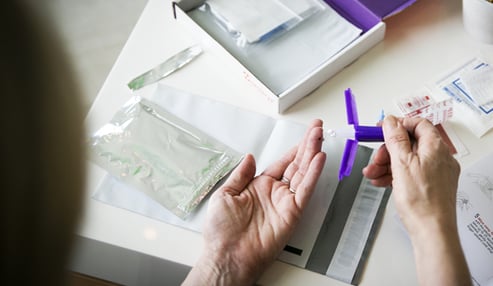 Using a lancet paired with a microsampling device, you can prick a fingertip and self-collect micro-sized blood samples.
Remote microsampling offers convenience and a more comfortable option compared to traditional methods, whether you are collecting blood samples for clinical trials, therapeutic drug monitoring, toxicology studies or other applications in research and health.
With a sample collection kit, you can sit at your kitchen table and collect blood microsamples that are ready for mailing in approximately five minutes. After sample collection, you seal the sampled device in its silver foil specimen bag, slip that into the provided envelope, and drop it in the nearest mailbox. The samples will dry in transit before they reach the lab.
The remote microsampling process is easy and requires only that you follow the enclosed instructions for use. You can also use a QR code or link to access and view videos online with step-by-step directions, like the one below:
Setting up for at home sample collection:
- Open the kit and remove the instructions for use (IFU). Read the IFU first. This is essential before proceeding to the next step in the process.
- With the instructions open in front of you, prepare the lancets by twisting off the tops. Place them on the tabletop or surface in front of you.
- Next, remove the silver foil specimen bag containing the Mitra® device from the kit box. Open the bag above the zipper top and take out the Mitra device. The device is in a small plastic case.
- Open the device case without touching the microsamplers inside and place the open device next to the lancets. Set the foil specimen bag to the side (Be sure to leave the sachet of desiccant inside the specimen bag – that desiccant will help keep your samples dry when they are mailed to the lab.)
- There is a small, sterile gauze packet in the kit. Open the package and have the gauze ready.
- Open the adhesive bandage package. Remove one of the backing strips, and place it face down in front of you.
- The shipping envelope has a self-sealing flap. Remove the paper backing to expose the adhesive strip and set the envelope to the side.
Collecting home samples with a microsampling device:
- Wash and dry your hands. Be sure to dry them completely with a paper towel.
- Position the lancet on your fingertip, pressing down until it clicks.
- A blood drop may form immediately. If not, gently massage upward along your hand and finger until you have a good drop of blood.
- Hold the Mitra device over your hand with the device tip facing down toward your fingertip and touch the white absorbent tip of the device to the blood. Hold it there until the white tip of device is filled with blood – the white tip will go fully red as it absorbs the sample.
- Repeat the sampling step until all the device tips are filled (fully red).
- Wipe off the blood with the gauze and apply the bandage to your fingertip.
- Close the sampled Mitra device in its plastic case and put it in the silver specimen bag. Close the bag with the zip-lock top, making sure it is sealed securely.
- Place the silver foil specimen bag inside the shipping envelope and seal it. Ensure the address label is there. Mail the envelope the same day for best results.
Home sample collection with the Mitra Blood Collection Kit is quick and easy. For people participating in clinical trials or research studies, the fear of visiting a lab to have someone poke a needle into your arm may soon be a thing of the past.
More information about how remote microsampling can be applied visit our Industry Applications page.


Comments (2)